No, this has nothing to do with LocoMotion (which I will continue in the future for sure …)
Loconet is a protocol, designed by DigiTrax.
Simply said, in a few words:
Loconet can be seen as a “network topology” for modelrailroading.
Modules are inter-connected by RJ11/12 (6-wire US telephone wire)
It consists out of one or more hosts (computers) and one or multiple slaves.
(modules for controlling turnouts/signals etc …)
Besides this, it can also handle one or more trottles, to control one or more trains …
Here you can read the Personal Edition of the loconet specifications.
Why I want to use it ?
– I want to have multiple extra I/O ports, beside DCC decoders and S88 sensors.
– I want these extra I/O ports to be faster and more reliable.
– I also want to create my own type of decoders: Sound decoders and OLED screens for example.
Where to start ?
As I’m “into” Arduino (for the moment), I checked the possibility the use Arduino UNO, Arduino Mega,
and ESP32 (later on in the process) So, I found out there is a Loconet library available for Arduino,
and based on the samples, I started my own project(s).
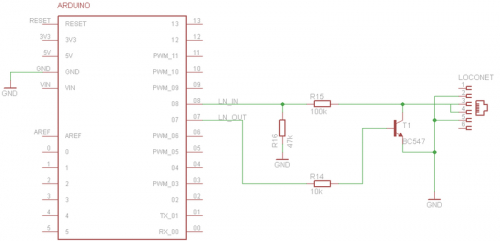
As hardware, you need dedicated pin 8 (ICSP) and another pin, to have RX/TX to Loconet.
A simple schematic with a few resistors and a BC547 (NPN transistor) will do the trick !
You need to use this library.
And in your “setup” you need to use Loconet.init(X); (Where X needs to be replaced by your second use Loconet pin)
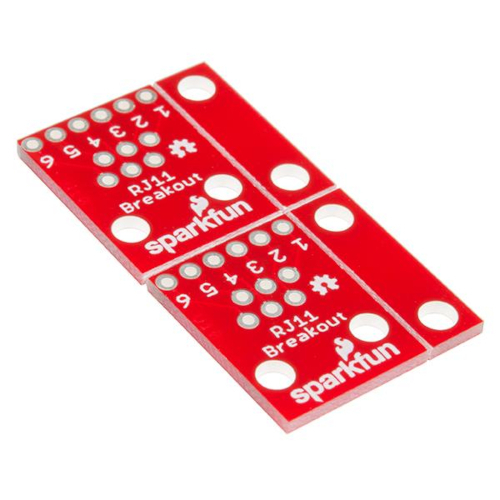
You may also looking for a way to connect your prototyping board to loconet.
The standard loconet connector does NOT fit on a prototyping board, but I did find a solution for this.
What you need is a connector from SparkFun, article code BOB-14021.
They are sold per 2 (you need to break them off), they form a connection between an RJ-11 connector,
and the standard 2.54 mm spacing on a typical prototyping board.
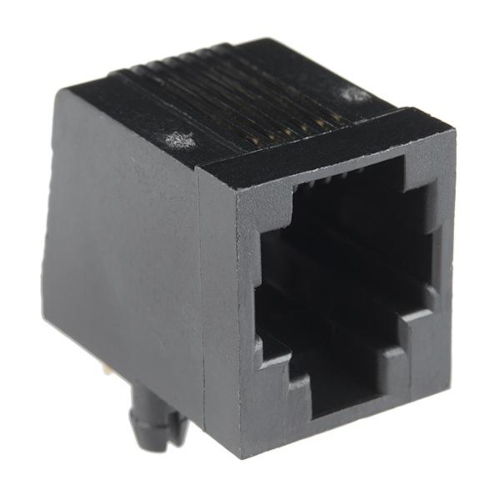
Next, you also need to order 2x RJ-11 connector, Sparkfun article code PRT-00132.
You also need a “connection” between you Loconet modules and your PC.
(Or use a command station with built-in Loconet connection)
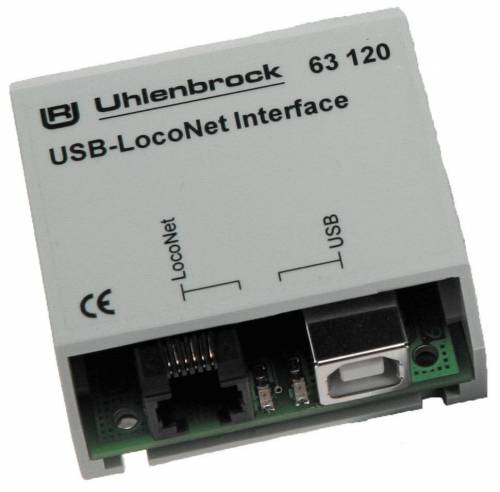
I started with an Uhlenbrock 63130 USB-Loconet interface. (It’s the same as the 63120, but more cheap,
because you don’t get the CD-Rom with Uhlenbrock Loconet tools with it, and trust me, you really don’t need this tools !)
Because I needed a way to connect Loconet, without USB (I want to run Rocrail on a Raspberry Pi,
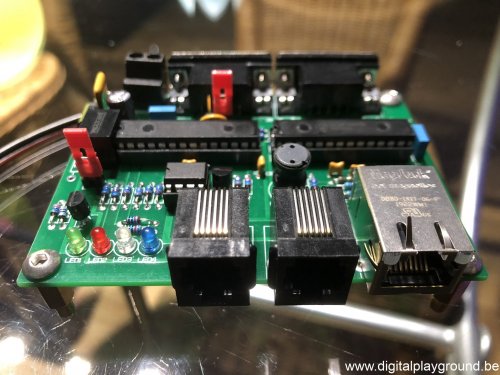
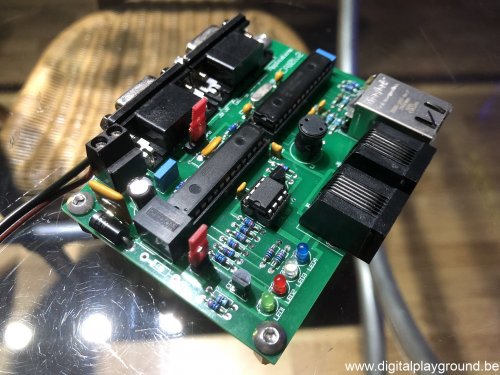
so for sure no USB drivers under the ARM platform), I bought an ethernet-Loconet buffer (GCA101v2) from Peter Gilling.
More info here (It comes as a kit, so you have to solder it yourself)
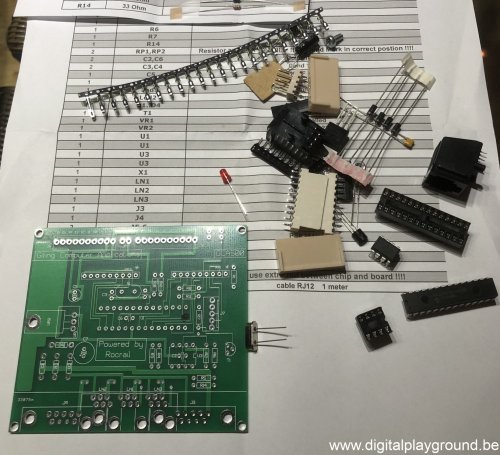
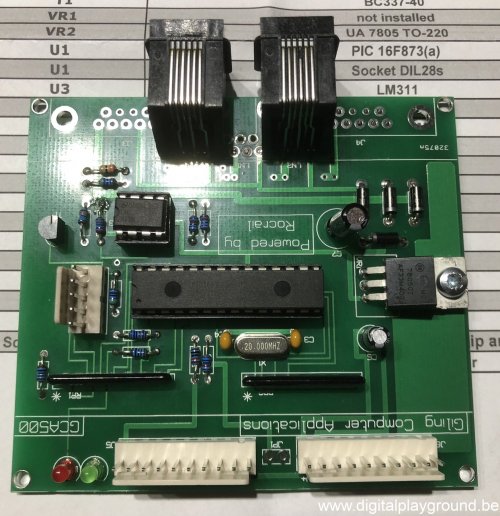
To test and learn the Loconet functionality, I also bought an I/O module (also in kit-form, also from Peter) GCA500
More info here
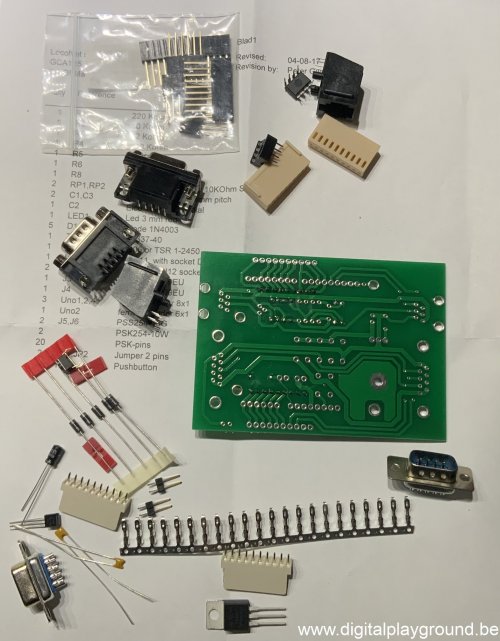
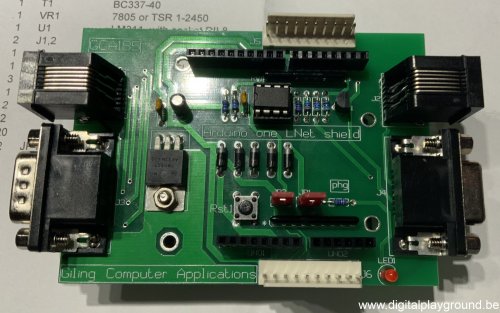
Furthermore, Peter also has a Loconet Arduino shield, in his product range, so I also order this.
So, with the Loconet library for Arduino, you can build your own Loconet creations …
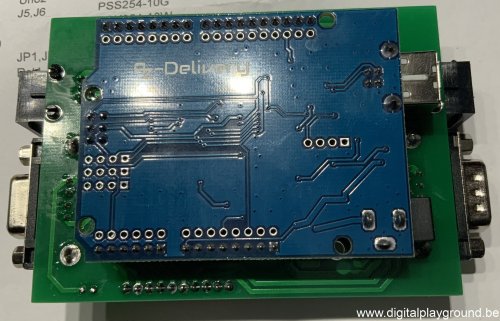
This shield works with the Arduino UNO and the Arduino Mega.
You need to connect pin 48 to pin 8 on the Arduino Mega, in fact you need to do this for all Loconet projects !
(not only for the PCBs from Peter, but also for the PCBs from Nico (look further in this article)
GCA185 – More info here
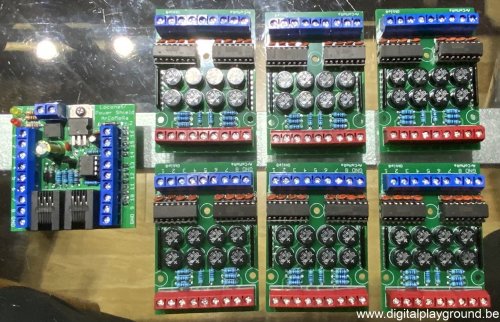
Furthermore, I also discovered the products of Nico Teering on https://www.arcomora.com
Nico does not only sell Loconet modules, but also DCCNext, a DCC decoder, with 16 configurable I/O ports.
(where you for example can connect upto 12 servo’s, with bounce-back functionality !)
More info on DCCNext can be found here.
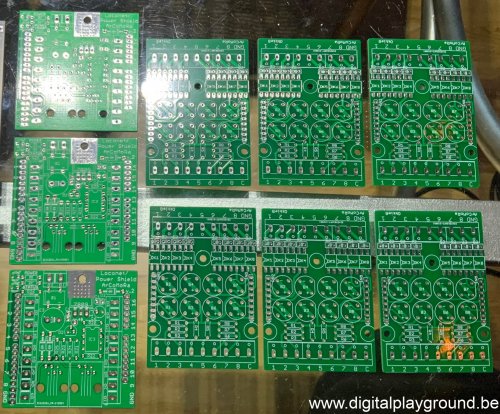
And for ArLoco, Nico’s Loconet Arduino Shield, you need to look here.
He even offers an “Okkie”, a small PCB to put between your rails and the ArLoco, for DCC occupancy feedback.
Nico is offering these PCBs as kits, so you have to solder them yourself.
These are kits of very high quality, with a low price that is hardly to believe 🙂
Hi,
I’m really glad I found your site, because I want to have a similar setup. I have already the OKKIE8s connected to my Märklin CS2, using Arduinos and the S88 bus. However, due to several unknown reasons, I’m not able to have a S88 stable signal (I’m using CAT 6 and 7 cables, and still have interferences…). Therefore I’m considering to change everything to Loconet.
For that, I’ll take advantage of the existing Arduinos and install Arloco shields, which will be connected to the PC (running Rocrail), via the GCA 101v2.
However, I understood that apparently Peter Giling is not seling GCA products anymore.
Do you know of anyone else that could be supplying these GCAs? and what is your experience with the GCA 101 v2?
Thanks in advance for your support.
Kind regards,
António
Hi António,
Peter Giling did stop selling his products for some time, but as for as I know, he sells them again.
(The last time I ordered from him, was somewhere around the summer of 2022, so just send him an email)
I’m using the Uhlenbrock 63130.(version without the software (this is a USB / Loconet interface, (works fine with Rocrail also !))
Price of this thing is more then OK, and quality is superb ! (I don’t have anything to do with Uhlenbrock, this is just a fine piece of hardware)
There is also an Uhlenbrock 63120, that is slightly more expensive. The only difference is that it comes with a CDRom with software.
Nobody else is going to sell these GCA modules, because they are peters’ intellectual property.
(Maybe you can ask on some forums, for a second-hand unit ?)
I hope this answers your question …
Best regards from Belgium,
Kris
Hi Kris,
I tried to reply yesterday to your post but, for some unknown reason, I cannot see the reply here.
In any case, sorry for such late reply.
So, I confirm that Peter Giling is selling his KITs again. However, I went for the ArCoMoRa Arduino shields (as well as some OKKIEs) and for the Locobuffer, I’m using an Arduino Loconet adapter proposed by Luca Dentella (https://www.youtube.com/watch?v=BdRhHBKUpPE).
Initially I had some communication issues, but that was due to a mismatch between the BAUD rates set in the Arduino sketch and the COM port in my PC.
After adjusting it, I can now see the sensors working just fine. Now it’s a matter of going under the layout and rewire everything from S88 to Loconet… At least the current sensors are already installed.
Once again, thank you for your kind support.
Best regards from Portugal,
António
Hi António,
Thanks for your reply.
Messages do not auto-appear on my website, I need to approve them.
(In fact, I got your message 2 time)
Please keep me informed about your LocoNet adventures 🙂
If you feel more comfortable in emailing me, you can find my email-address at the bottom of our website 🙂
Best regards,
Kris