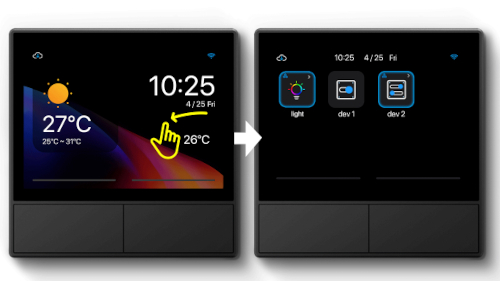
While in my constant search for “better” home automation, I stumbled upon the Sonoff NSPanel.
I already use several Sonoff devices, and with a Tasmota firmware ( https://tasmota.github.io/ )flashed on it,
they do exactly what I want. (and are of course more flexible then the standard Sonoff firmware)

So, I bought one of these devices, with the idea to replace some of our wall-switches with this one.
(at some place, we have more then 4 switches, this can be better and more elegant)
Those NSPanels exists our of an ESP32 ( https://nl.wikipedia.org/wiki/ESP32 ), some relays,
and a Nextion Discovery 3.5” NX4832F035.4 ( https://nextion.tech/datasheets/nx4832f035/ )
And since I’m using Home Assistant as my main home automation software ( https://www.home-assistant.io/ ),
it was only a matter of time, until someone “bridged” the gap 🙂

I hoped to use Tasmota as my main firmware on these devices, but after an intensive comparison, it seemed that
ESPHome ( https://esphome.io/ ) was the “winner” for me.
After all, the default Sonoff firmware was a “joke”, they offer to less functionality and flexibility, and could only
communicate with other Sonoff devices. (and I have several brands of home automation devices in use)

What you need to use the Sonoff NSPanel with Home Assistant :
- At least one Sonoff NSPanel
- A USB to TTL converter
- Some standard tools like a screw driver etc …
- An instance of Home Assistant, up and running
- The nextion editor installed on a windows PC
Procedure:
- Install the ESPHome plugin in Home assistant
- Install the ESPHome firmware on the NSPanel device
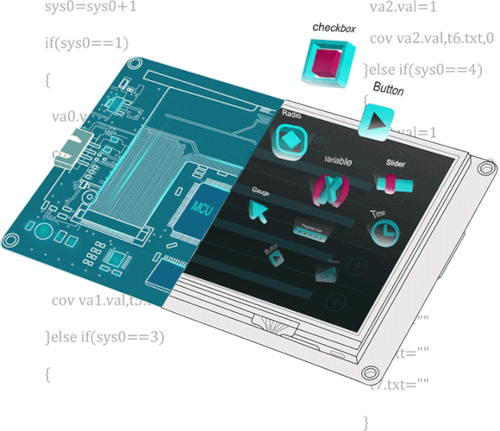
- Use Nextion Editor, to design you own screen, to use on the NSPanel
- Do the rest of the configuration within Home Assistant (to let Home Assistant and NSPanel communicate)

Christopher Masto created a lengthty (45 minutes) tutorial video from A to Z
to get NSPanel up-and-running in Home Assistant. Check it out here !