I do own the Marklin Hogwarts Express, aka the Harry Potter train. (which is actually a Hornby set, but who cares) Because the coaches were to far apart, I decided to put Ribu shortcouplings underneath it, do minimize the distance between the coaches. What follows here, is a short tutorial, with pictures of every step I made.
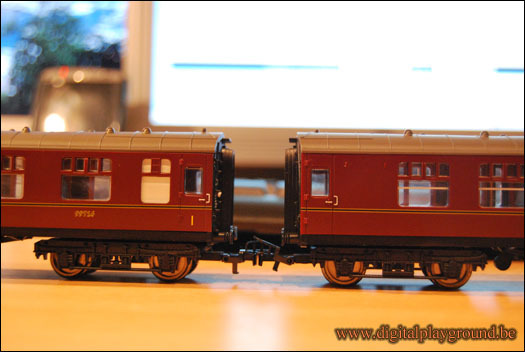
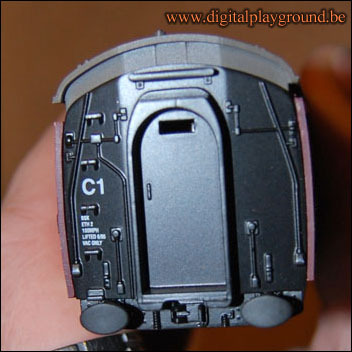
This is how the standard coupling looks like ! Way to much space between the coaches ! Plain ugly, and unrealistic !
You can see the problem, the couplings are not on the coach, but on the wheel-base. The need to have such a large space between the coaches, because otherwise, the cars would de-rail in curves.
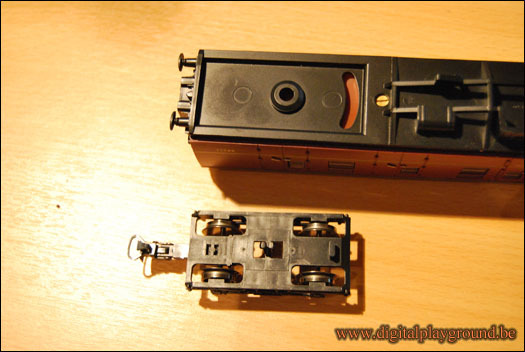
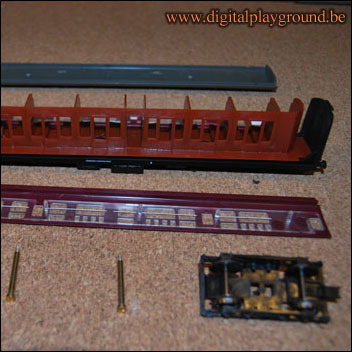
Coach and wheel-base already separated …
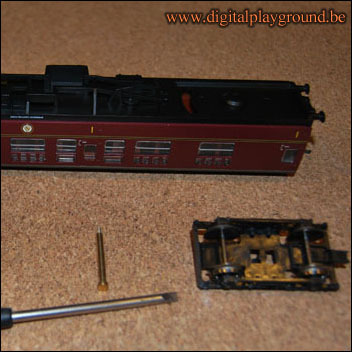
First of all, different from most Marklin coaches, there are 2 screws in the bottom, that you need to take out.
You also need to push-in those brackets on the front end end of the coach, located in the whole in the top of the door-panel.
After this, you can take the coach full apart.
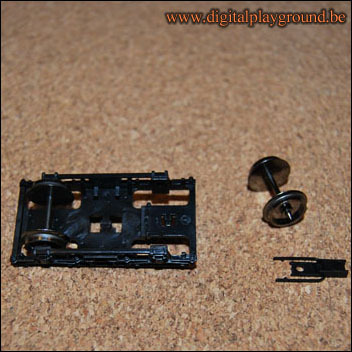
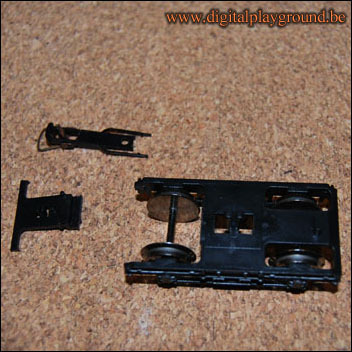
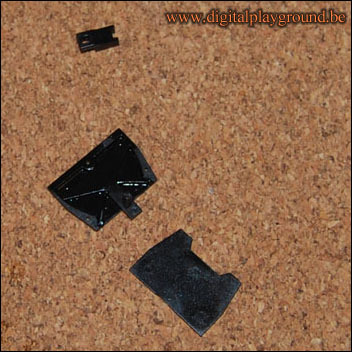
Take away the outer wheels, and the coupling-connector.
Cut off the T-piece between the middel of the wheel-base and where the coupling-connector was.
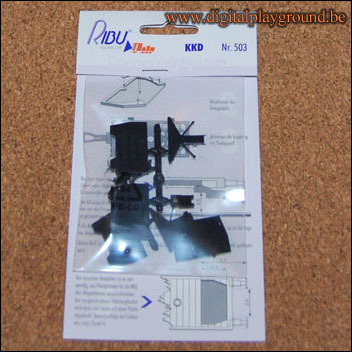
The Ribu-package contains 2 shortcouplings (one for the front and one for the end of the coach, offcourse)
Don’t forget to put some lubricant (I use oil) inside the ripu-coupling, before assembling it !
Next, put the ribu-coupling at it’s destination-location, and mark it ! (follow the guidelines in the ribu-assembly-guide.)
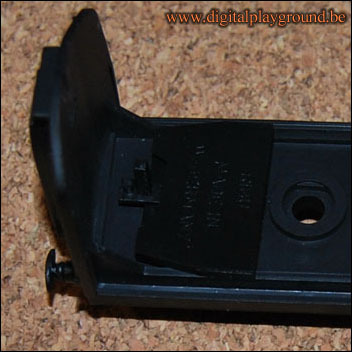
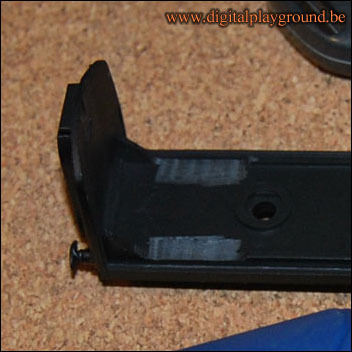
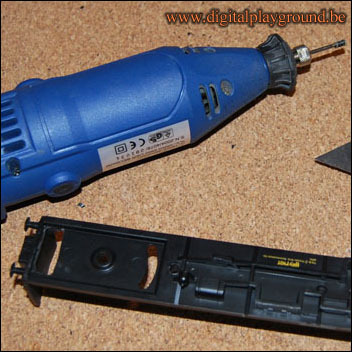
Then, cut off the borders of the coach-chasis, with a dremel. (so, the Ribu-coupling can fit in this space)
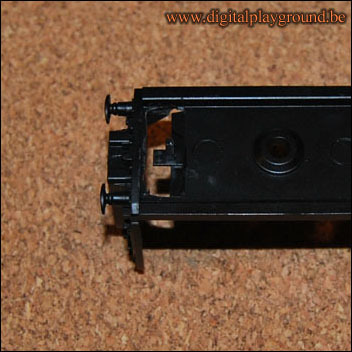
Next, cut a slot (with a dremel), close to the end of the car. This is where the moving-part of the Ribu-coupling will fit trough the bottom of the coach.
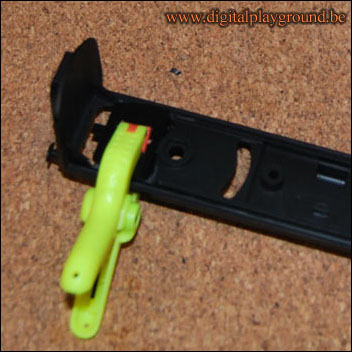
Glue the Ribu-coupling in place (with superglue), and let it dry for a few minutes. (Make sure that no glue touches the moving parts of the Ribu-coupling)
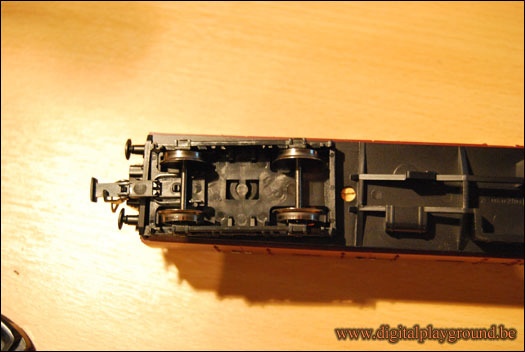
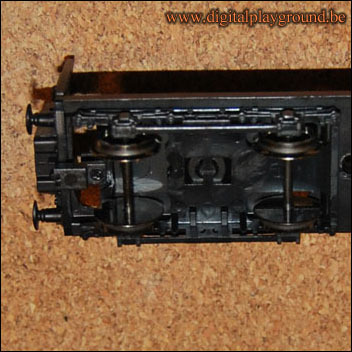
This is how it looks from underneath 😉
and everything assembled together … (only a coupling itself needs to be fitted in)
I don’t have pictures of the finished assembly yet, because I’m also in the progress of putting interior-lighting inside these coaches. (and also some red end-lighting, an a marklin “shoe” for the middelrail and a copper spring for the outer rails, to get some “power” for the lights) So, this tutorial will be continued shortly, with more pictures …
